Walk-in coolers are indispensable in many industries, providing essential storage at controlled temperatures to preserve perishable goods. However, one common issue that can arise with these units is door misalignment, leading to improper sealing, energy loss, and increased wear on the cooler’s compressor. Adjusting the hinges of a walk-in cooler door is a critical maintenance task that can help alleviate these issues, ensuring the cooler operates efficiently and effectively.
Adjusting the hinges of your walk-in cooler door may seem daunting, but it’s a straightforward process that can significantly impact your cooler’s performance. Properly aligned doors ensure better temperature control, and energy efficiency, and prolong the lifespan of your cooler. This guide will walk you through the step-by-step process of adjusting the hinges, ensuring your walk-in cooler functions optimally.
Maintaining your walk-in cooler’s efficiency is not only about keeping it running but also ensuring every component, especially the door, is in top condition. A well-maintained door with properly adjusted hinges can save you from future headaches and costs associated with energy loss and food spoilage. Let’s dive into the specifics of how to adjust those crucial door hinges.
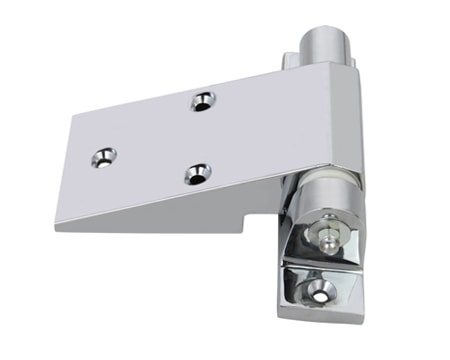
Identifying When Adjustment Is Needed
Before diving into the adjustment process, it’s essential to recognize the signs that your walk-in cooler door hinges need attention. Common indicators include difficulty in opening or closing the door, visible gaps when the door is closed, or an uneven door that doesn’t sit flush against the frame. Each of these symptoms can lead to energy loss and decreased efficiency of your cooler.
In-depth, when you notice these issues, it’s crucial to act promptly. The first step involves inspecting the hinges for visible damage or wear and checking if the door has sagged or shifted from its original position. Understanding the root cause of the misalignment is key to applying the correct adjustment technique. This section will guide you through diagnosing the problem, ensuring you know exactly what needs to be fixed before you start adjusting anything.
Tools and Preparation
Adjusting walk-in cooler door hinges requires some basic tools: a wrench or socket set, a screwdriver, and possibly a drill if new holes need to be made. It’s also a good idea to have some lubricant (such as WD-40) on hand to ensure the hinges move smoothly after adjustment. Safety should be your top priority, so ensure the area is clear and you have adequate lighting to see what you’re doing.
Preparing for the adjustment involves securing the area and ensuring that the cooler is not in use, to prevent any inconvenience. You might also need to prop the door or have someone assist you by holding the door while you work on the hinges. This section details the preparation steps and the tools needed, ensuring you’re fully prepared to tackle the adjustment task with confidence.
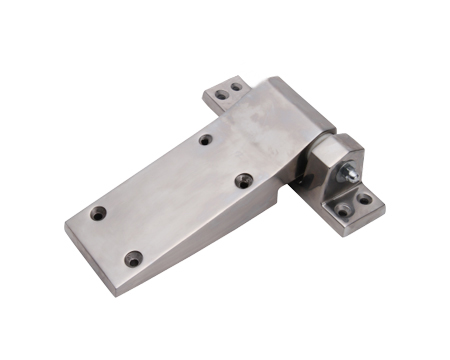
Step-by-Step Adjustment Process
The adjustment process can vary slightly depending on the type of hinges your walk-in cooler uses. However, the general steps involve loosening the hinge screws, realigning the door to the correct position, and then tightening the screws back in place. For some models, you may need to adjust the tension on the hinges to correct the door’s swing or closure speed.
This section will offer a detailed, step-by-step guide on adjusting both common and less common types of hinges, including tips for ensuring the door is perfectly aligned and seals properly. Whether you’re dealing with a sagging door or one that won’t close properly, these instructions will help you make the necessary adjustments with precision.
Troubleshooting Common Issues
Even with careful adjustment, you might encounter issues like the door still not sealing properly or the hinges becoming loose shortly after adjustment. This section will address common post-adjustment problems and provide solutions to ensure your adjustments are successful in the long term.
From checking for worn-out components that may need replacing to ensuring that the door frame itself isn’t warped or damaged, troubleshooting is an essential skill. This part of the guide ensures you’re equipped to handle any unexpected challenges that arise during or after the adjustment process.
Conclusion
Adjusting the hinges of your walk-in cooler door is a maintenance task that can significantly impact the efficiency and longevity of your cooler. By following the steps outlined in this guide, you can ensure your cooler’s door seals properly, maintaining the optimal temperature and saving energy. Remember, regular maintenance is key to preventing issues and ensuring your walk-in cooler operates smoothly for years to come.
You may be interested:
- What Are the Characteristics of Industrial CE Marked Hinges?
- Can You Cut Piano Hinges?
- What’s the Best Hinges For Heavy Doors?
- 6 Things You Must Know About Small Piano Hinges

